← Back home3 min read
Feature story
The Art of Folding a Paper Crane
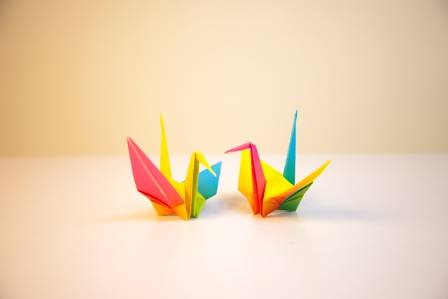
Origami cranes stand as an enduring symbol in paper craft, widely recognized through tales stemming from Japanese tradition. It is said that folding a thousand of these delicate figures may fulfill a wish, a narrative famously depicted in "Sadako and the Thousand Paper Cranes." Before embarking on such a lofty goal, however, one must first master the basics of creating a single crane. Let's begin this creative journey.
J
Jordan Lee
Writer
Lounge note
Settle in — the full story and key updates are below.
Desk
Entertainment
Introduction to Origami Cranes
Origami cranes stand as an enduring symbol in paper craft, widely recognized through tales stemming from Japanese tradition. It is said that folding a thousand of these delicate figures may fulfill a wish, a narrative famously depicted in "Sadako and the Thousand Paper Cranes." Before embarking on such a lofty goal, however, one must first master the basics of creating a single crane. Let's begin this creative journey.
Step 1: Begin with a Square Sheet
To start, prepare a single square sheet of paper, preferably designed for origami, along with agile fingers. A common size is 6 by 6 inches.
Step 2: Form Diagonal Creases
Fold the paper diagonally, connecting opposite corners. Unfold and repeat with the remaining corners to produce an X-shaped pattern. Ensure edges match precisely for best results.
Step 3: Add Horizontal and Vertical Folds
Turn the paper over. Next, fold it in half horizontally. Unfold and repeat vertically, creating a + shape that overlaps the X. Accurate folding is essential here.
Step 4: Accordion-Style Folding
Open the square with the colored side facing down. Rotate it so one corner points toward you. Bring the two side corners inward to meet the bottom corner. Then, fold the top corner down to align with the others, yielding an accordion-like square.
Step 5: Create a Superman-Logo Shape
With the flap corners still directed at you, fold the top right corner toward the central diagonal line. Repeat with the top left corner. The resulting form should resemble the Superman emblem.
Step 6: Fold the Top Section
After both sides are folded inward, pull the top portion downward and press the crease firmly.
Step 7: Transform a Frog Mouth into a Diamond
Gently pull apart the two halves of the triangle, then lift the top layer. Raise the top front corner while holding the other three front corners down, forming a frog mouth appearance. Carefully pull the top corner upward and backward until it lies flat, pressing all folds to create a diamond shape atop a square base.
Step 8: Repeat on the Reverse Side
Flip the paper over and replicate Steps 5 through 7 on this side.
Step 9: Shape into a Slender Kite
Fold the right top corner of the diamond toward the center line. Repeat with the left top corner. Turn the paper over and repeat on the other side. The outcome should be a thin kite-like form.
Step 10: Craft a Wolf's Head Outline
Lift the top right section and fold it leftward, similar to turning a page. Press the central fold. Flip the paper and repeat in the same direction. This produces an elongated wolf's head shape.
Step 11: Fold the Snout
Lift the wolf's snout and fold it to meet the ear tips. Press the new crease. Flip and repeat on the opposite side.
Step 12: Execute a Book Fold
Much like in Step 9, fold the right-side top layer from right to left. Flip and repeat on the other side.
Step 13: Define the Head and Tail
Pull out the longer paper pieces to form the neck and tail. Align them with the body's angle. Bend the top of one side downward to shape the head.
Step 14: Fold the Wings
Fold both wings downward at the point where two angles converge on the wing flaps. Secure the folds by pressing firmly.
Step 15: Inflate the Crane
To finish the crane and enable it to stand, gently separate the wings along the folds. Then, turn the crane upside down and carefully pull the opposite corners apart to expand the body. You may also blow into the hole at the base while extending the wings to puff out the body. Avoid excessive pulling to prevent tears.
Step 16: Final Touches
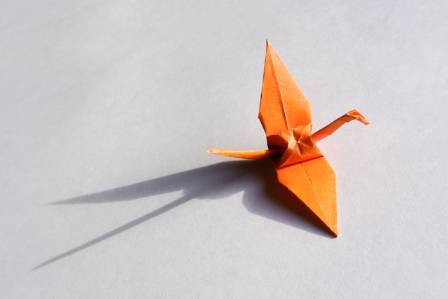
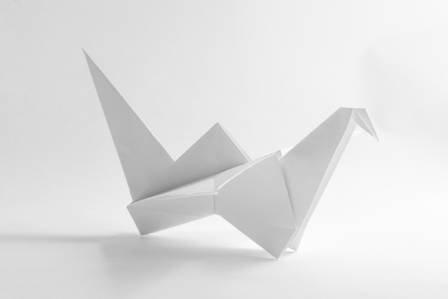
Your origami crane is now complete! If any steps were challenging, review the instructions or seek video guides. Enjoy this charming, low-cost decoration that captures the elegance of paper folding.
More to explore

· en
The golden eagle is a bird of massive size and imposing presence.
Mason Blake

· en
Taj Mahal: The Eternal Marble Masterpiece
Riley Parker

· en
The basics of microchips
Henry Collins

· en
Paint a Winter Mountain Landscape
Rowan Blake

· en
Frozen Reservoirs: The Geology and Global Impact of Glaciers and Ice Sheets
Theodore Davis

· en
How to make coffee in a coffee maker
Dean Parker